Product Description
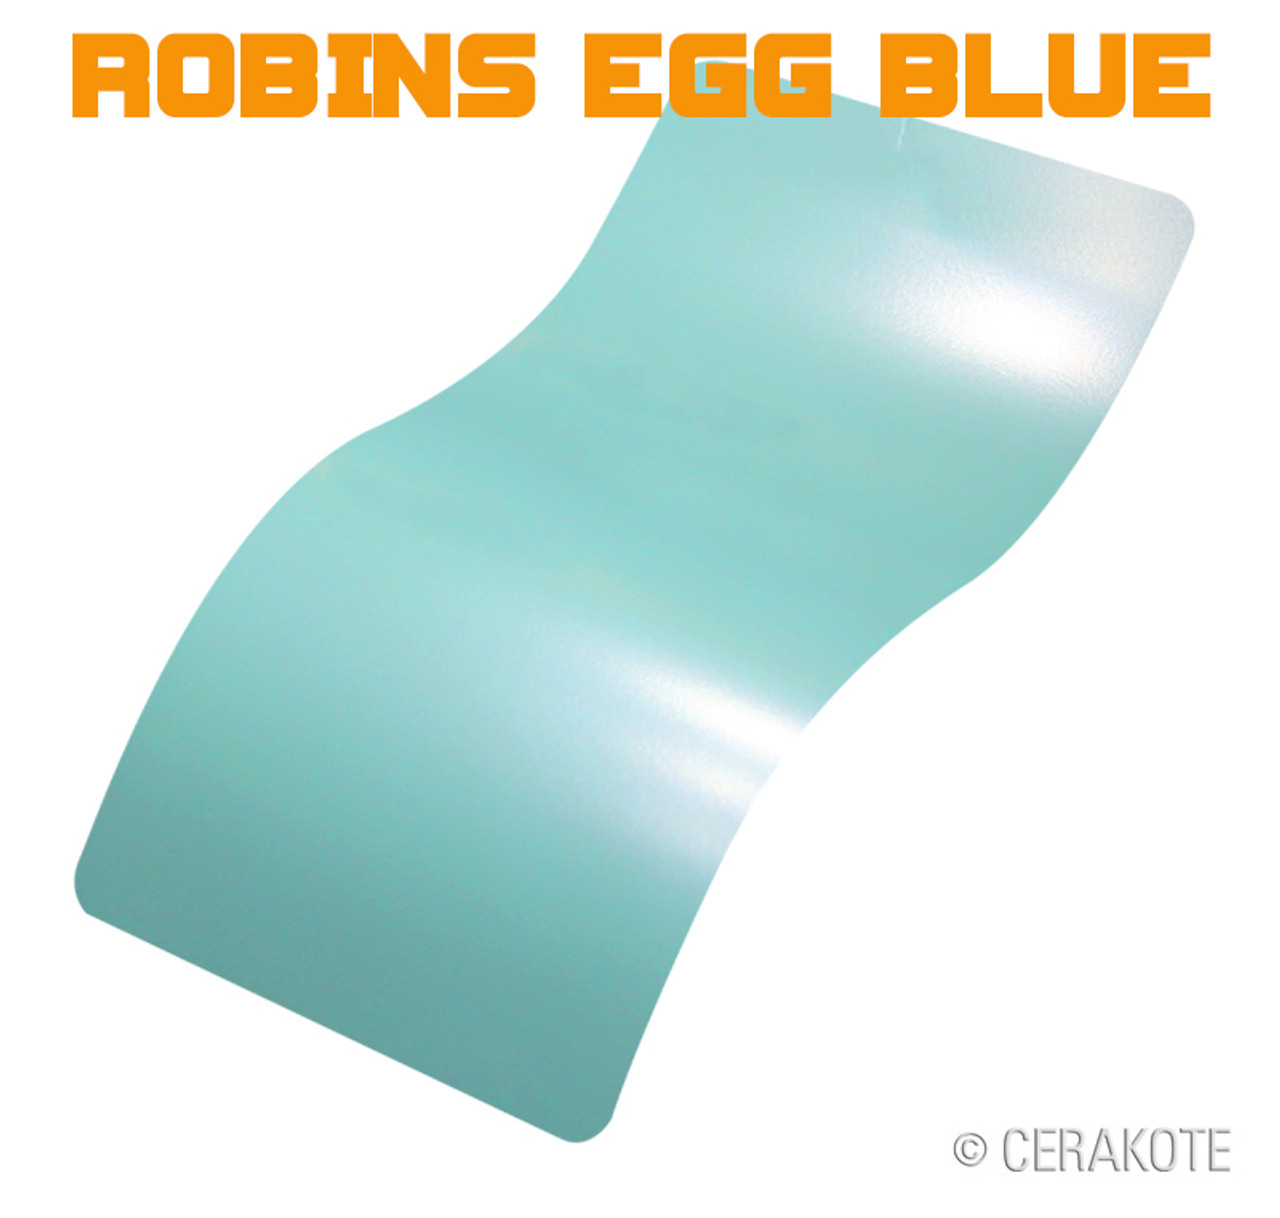
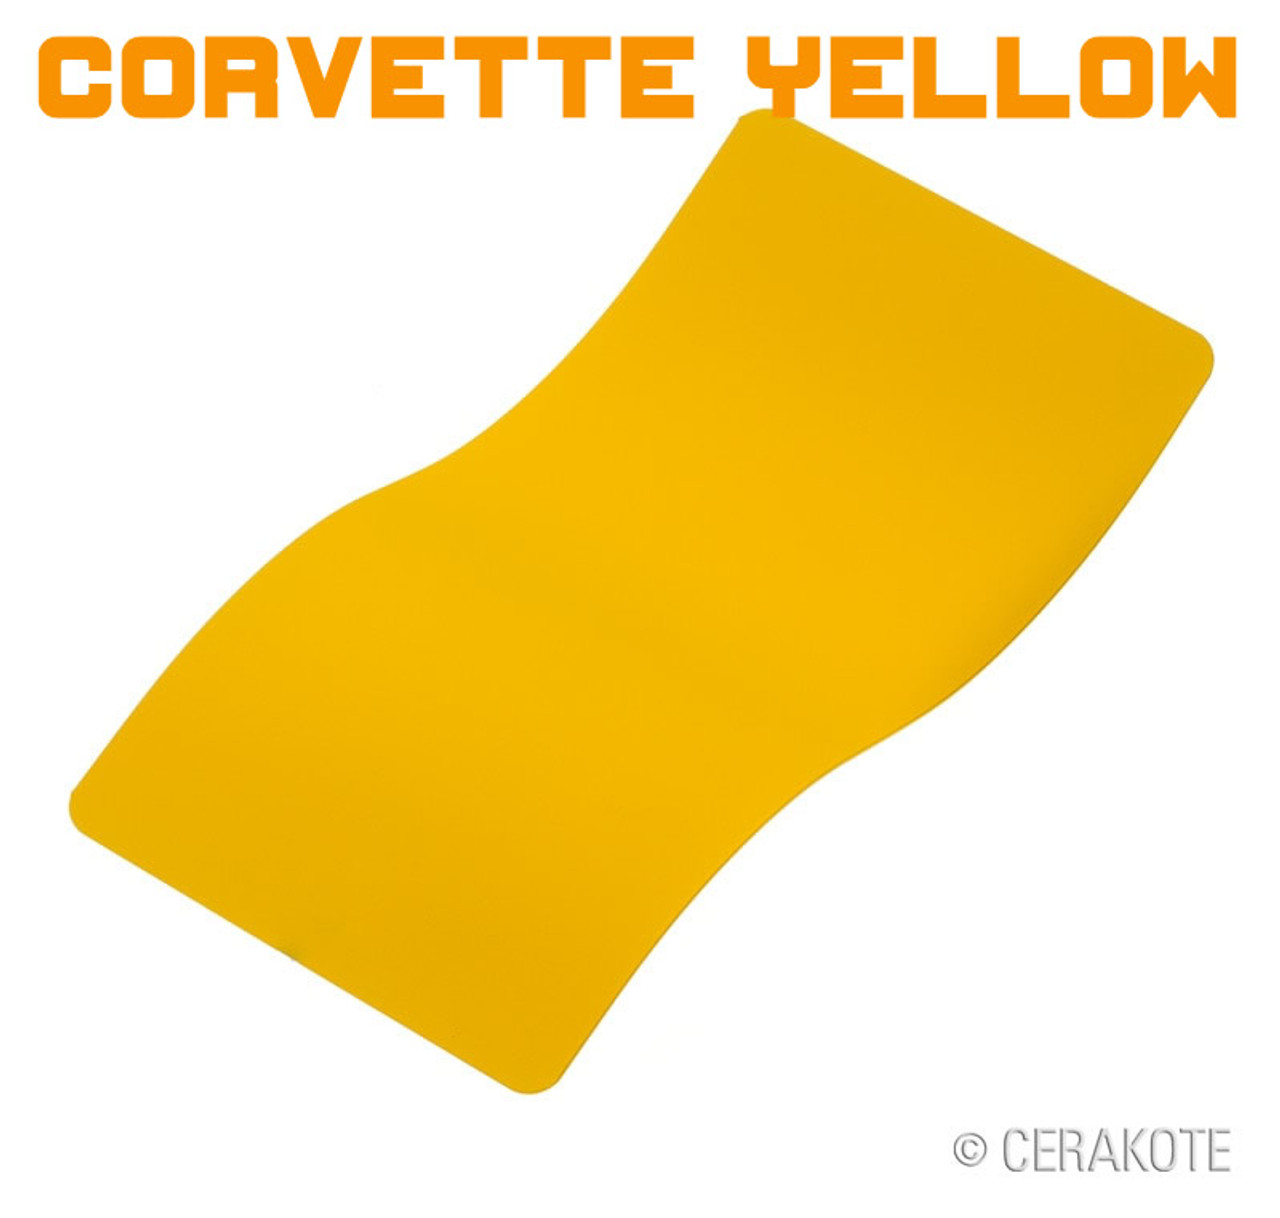
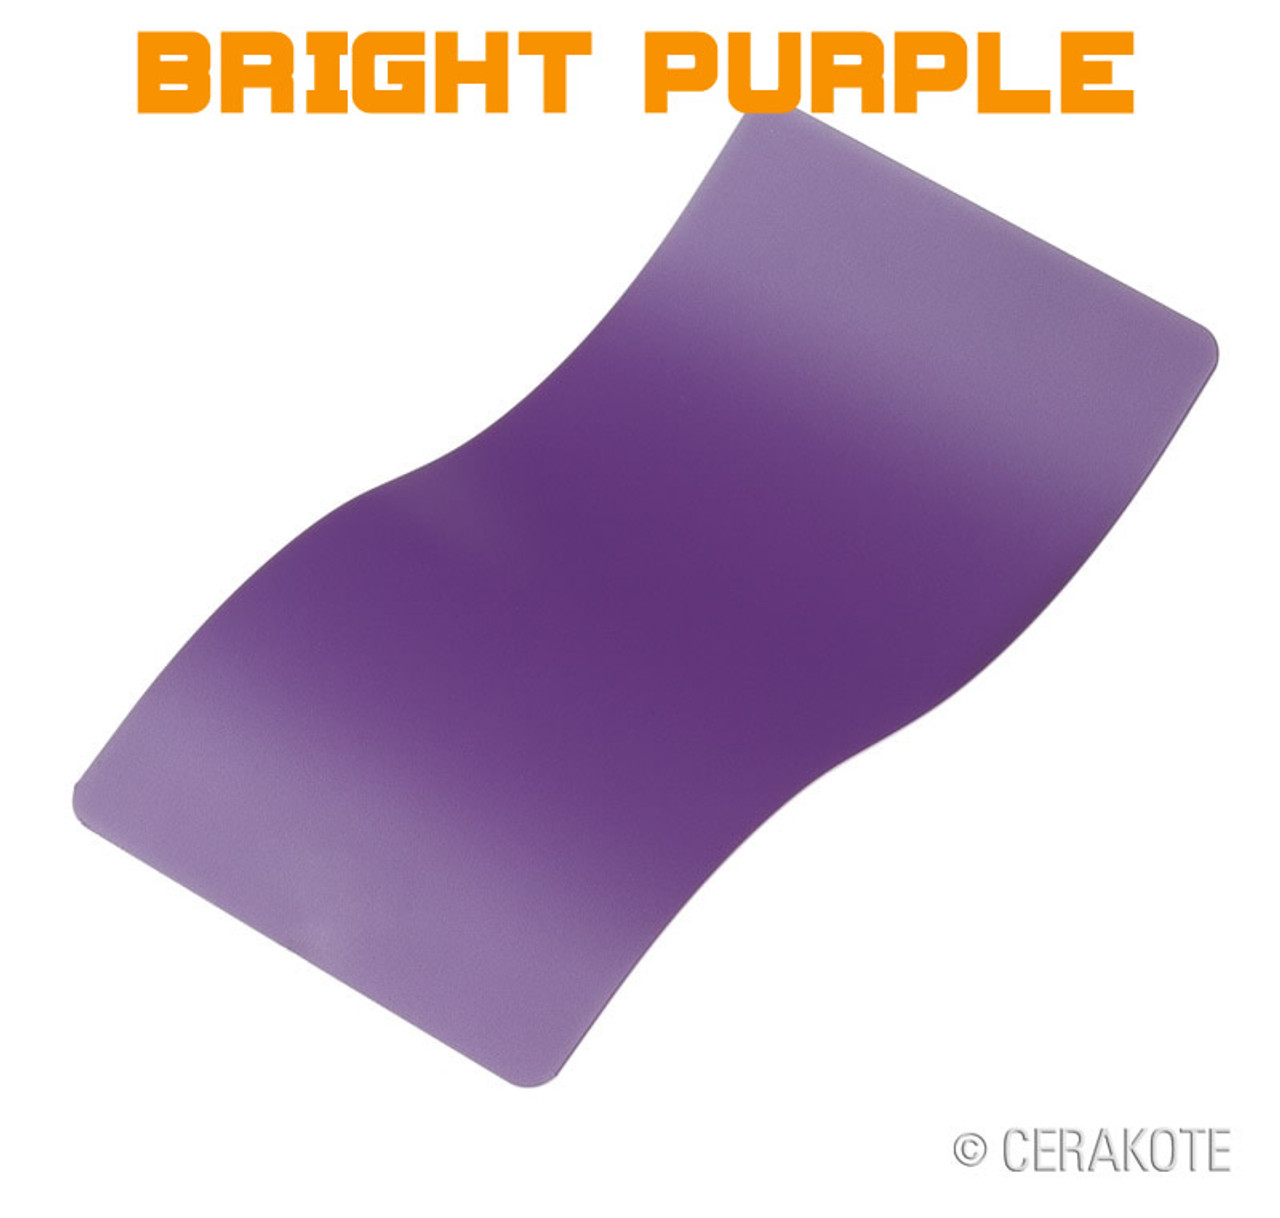
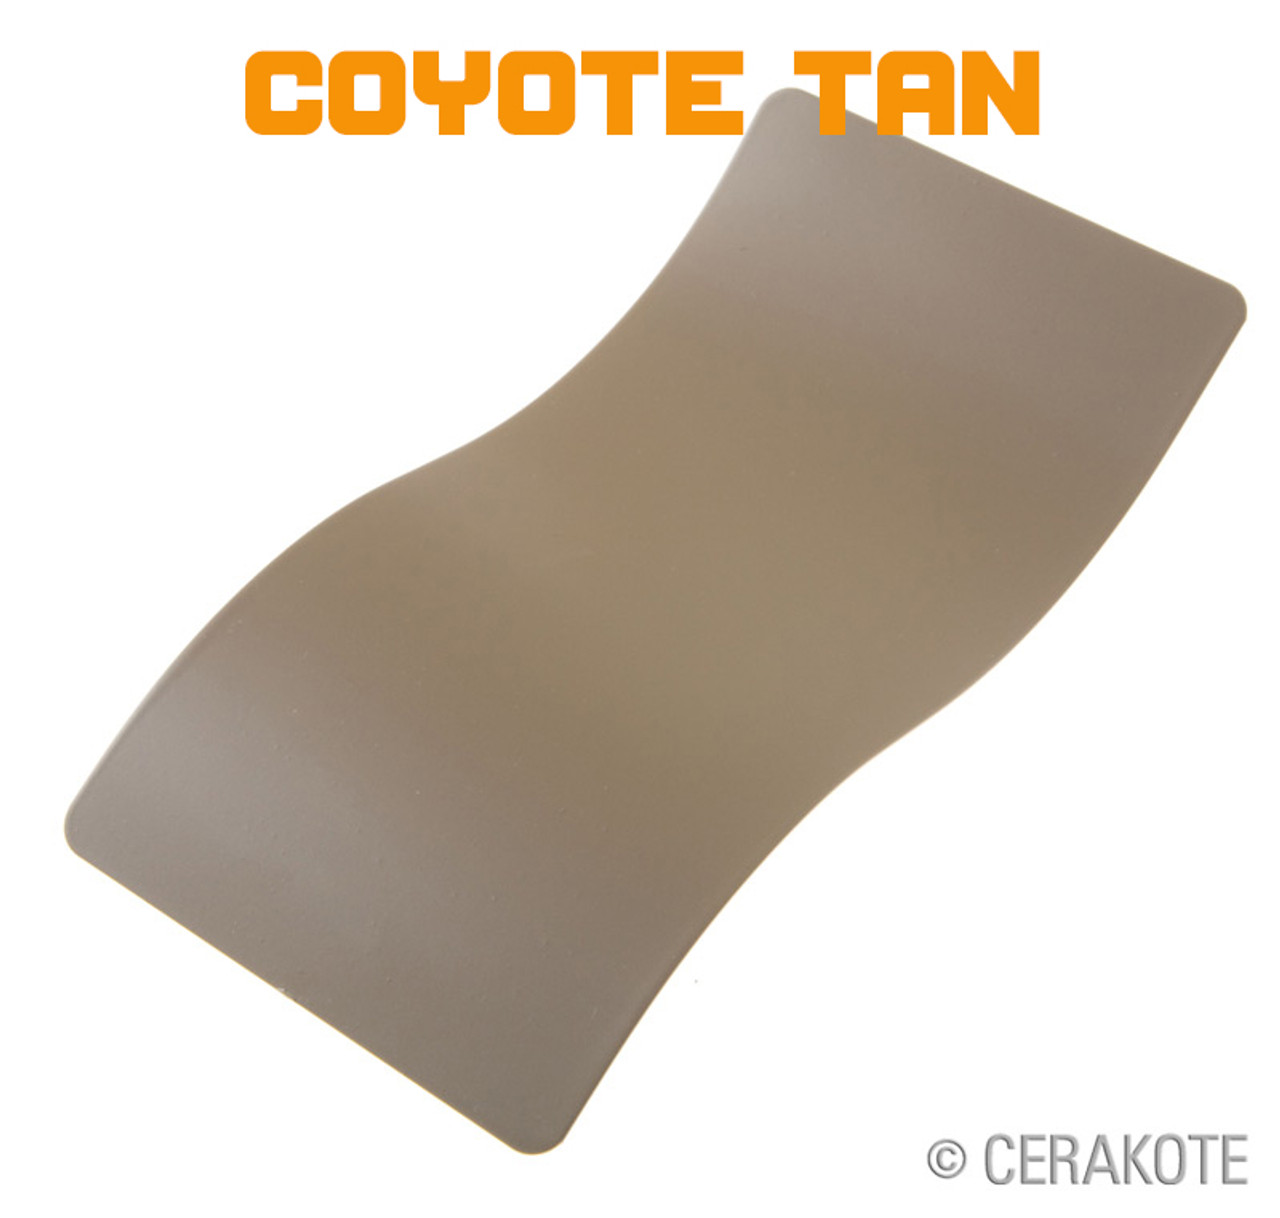
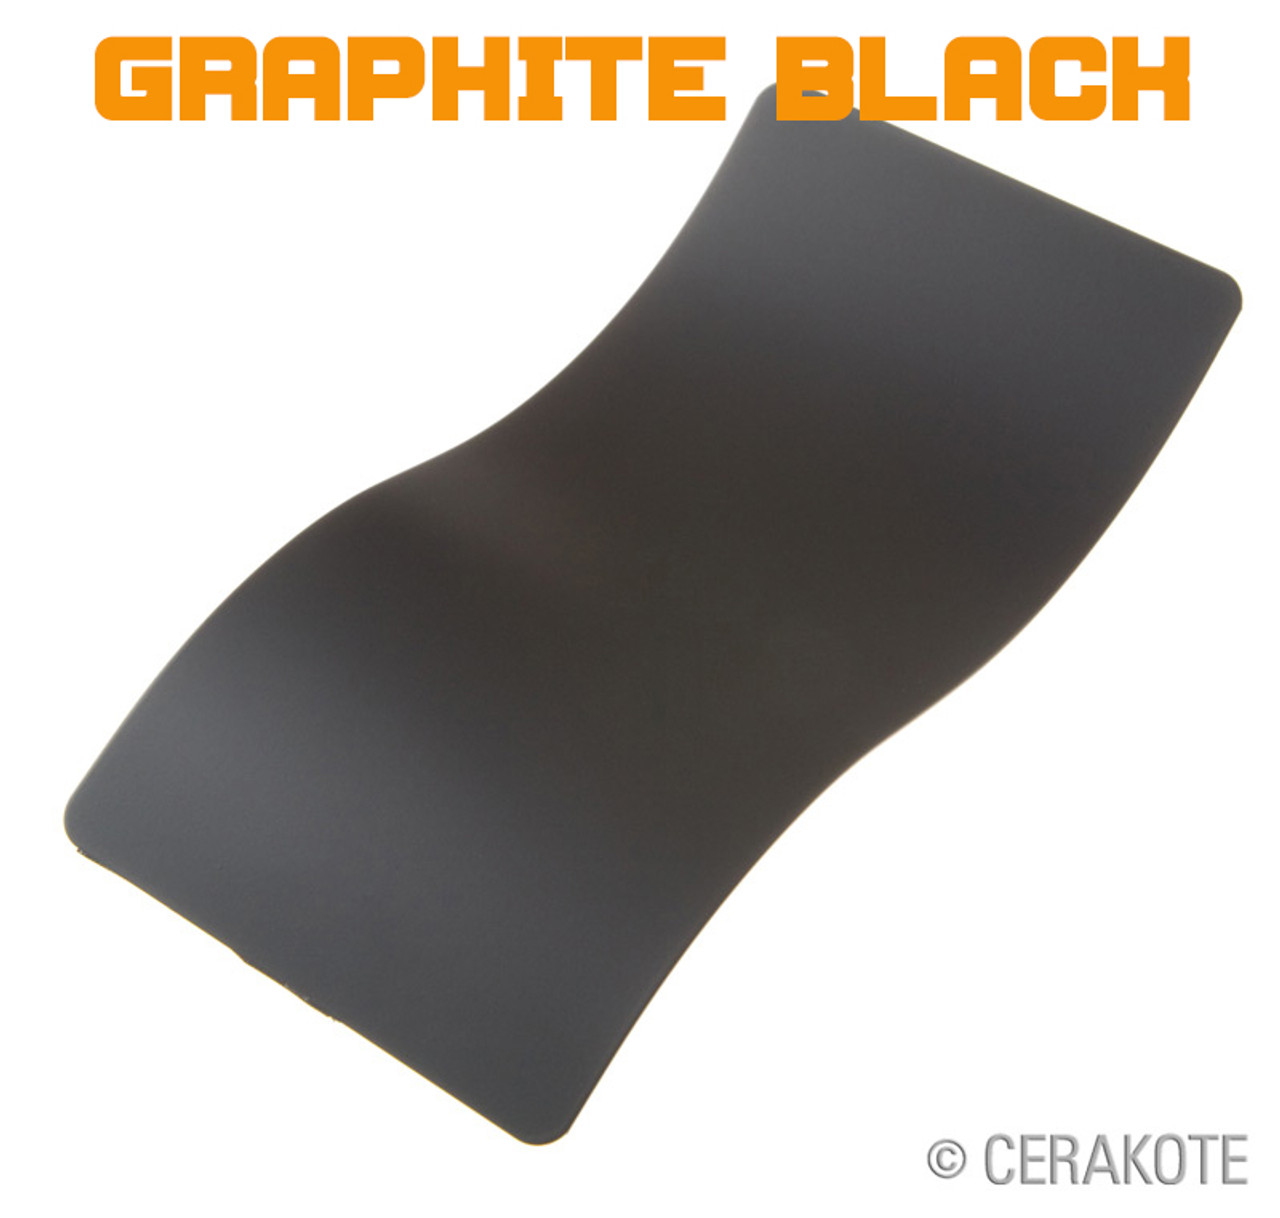
Cerakote® H-Series Ceramic Firearm Coatings
Available in 4oz (120ml) Bottles. Includes 0.13 fl oz (5ml) Hardener. Covers approx 10 sq ft at 1 mil.
Designed to provide a high-quality, long-lasting finish for firearms and firearm accessories. Cerakote® H-Series coatings are durable, corrosion-resistant and provide unparalleled levels of hardness and adhesion. These coatings are also resistant to most solvents and chemicals.The foundation for Cerakote® H-Series coatings is a unique ceramic technology that imparts both flexibility and excellent wear resistance to the final coating.
In addition to performance, the Cerakote® H- Series line of products is designed for ease of application. Each color is VOC-exempt and available in a two-component, oven-cure system.
Prep
Soak each metal part for 20-30 minutes in a non-water based degreaser such as Brake-Kleen® or acetone. Spraying or wiping is not suf cient; soaking is required. Using a small tank with a wire basket makes degreasing quick and easy. Place the screws, pins and other small parts in a smaller container so they are not lost during the soaking process. Allow parts to air dry after soaking.
From this point on it is critical to avoid touching the parts with your bare hands. Use powder-free latex style gloves to handle the parts.
Begin by plugging the bore at both the chamber and the muzzle end of the barrel prior to blasting. Grit blast the parts with #100 to #120 grit aluminum oxide or garnet sand at 80 to 100 psi. Lightly blast (30-40 psi) non-metal parts such as: wood, berglass, plastic or polymer. For anodized aluminum parts, set the blasting pressure to 30-40 psi. Strive for an even blast pattern over the surface of the part.
Racking
Hang or otherwise xture your parts so that you can access all the surfaces of each part with your HVLP gun. A variety of metal hooks in multiple sizes are idealfor racking larger parts, while thin wire or alligator clips are ideal for xturing screws, pins and other small parts.
Gas-Out
After parts are racked, heat metal parts in the oven at 300 degrees Fahrenheit (F) for 60 minutes. Gassing out will evaporate any remaining moisture and solvents and bring any remaining oils to the surface.Remove the parts from the oven and allow them to cool. If no oil has been brought to the surface, proceed to Phase six.
Coating Preparation:Prepare the Cerakote for application. Begin by vigorously shaking the bottle until the coating is completely mixed, then shake some more for good measure. Determine how much Cerakote you intend to use before mixing (see table 1 pg. 12) Pot life for mixed Cerakote is approximately two hours in an open or closed container. Consequently, mix only what you intend to use, to avoid wasted coating.
Spraying
Blow off parts with dry compressed air to make sure there is no trapped media in holes or pockets. Sand left behind will cause surface defects.Start spraying in the most dif cult area of each part, then progress and nish to the easier areas. This should help avoid runs and thin spots. 20-25 psi is recommended for proper application.
When spraying, strive for even coverage (you are seeking a half thousandth to 1 thousandth inch coating thickness). Spray with suficient volume so that the Cerakote does not dry spray, which is when the coating dries in the air before reaching the part. When spraying, the part should appear wet but not so wet that it wants to run. Cerakote will still be wet to the touch until it is oven cured. If you touch any coated parts before curing, the coating will be smudged and will need to be refinished. To achieve the recommended lm thickness, one to two wet coats are recommended.
TIPS
- Use an HVLP spray gun with 0.8mm tip (IWATA LPH-80 recommended)
- Do not spray with a too wide pattern (i.e. 4-6€ pattern). Doing so may cause dry spray or a rough nish.
- Spray with a 2-3€ horizontal fan 3-5€ away from the part.
- Insuficient volume of coating being applied with the 2€ pattern will result in dry spray or a rough texture.
After each part is coated, set it aside for about five to ten minutes. Cerakote will still be wet to the touch until it is oven cured. If you touch any coated parts before curing, the coating will smudge and will have to be refinished.
Cure Schedule Options:
- 250°F for 2 hours
- 300°F for 1 hour

Safety Information
Product Videos
Product Reviews
Important Information
Additional Equipment May Be Required
For Our Tank Plating Kits:
- Copper Pipe for tank bar
- Copper Wire to hang items
- Small amount of electrical wire to make connections
- DC Power Supply - Included In Some Kits. Check kit contents on web site
- Optional Rinse Tanks (or rinse over the plating tanks with a water bottle)
- Other minor household items may be required, such as gloves, water etc.
For Our Anodizing Kits:
- DC Power Supply (Standard Kit Only)
- 1 Gal Battery Acid
- Dyes (if desired)
- Optional Rinse Tanks (or rinse over the plating tanks with a water bottle)
- Other minor household items may be required, such as gloves, water etc.
Learn More Before Buying
You can purchase our Caswell Plating Manual and learn how to use the kits, before purchasing a kit. Simply Order Here. When you are ready to buy, we will discount the price of the kit.
Already Have Our Plating Manual?
If you are ordering a plating kit that contains our Plating Manual, and you already have our Plating Manual, you can remove it from all kits that contain it and save $30 per kit. Just use Coupon Code NOMANUAL in your Shopping Cart at checkout.


